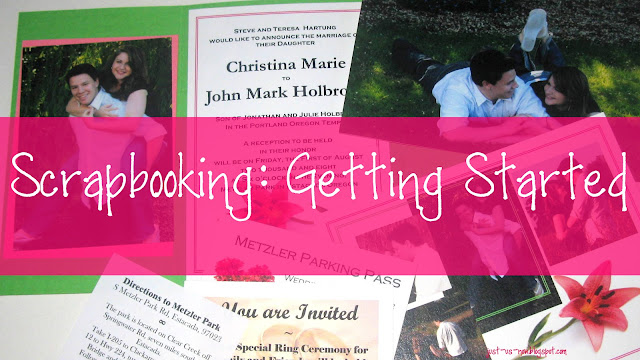
Scrapbooking,
it's a great way to preserve your memories for yourself, friends and future generations to enjoy.
I love scrapbooking, not only is it organizing, but it's crafting two.
(Some of my favorite things :)
I've had a lot of friends say they would scrapbook but it's too expensive and they don't know where to start. Well I want to show that anyone can scrapbook!
It can be easy and inexpensive.
Give it a try and follow along with me.
Supplies:
-Some kind of organizational system for your pictures
-A book or magazine of scrapbooking layouts or the internet
-Lined paper and pencil to draw your layout on
-Pictures
-Paper and embellishments (amounts vary depending on the layout you choose)
The first thing you want to do is get your pictures organized. Here are some ways to organize your pictures:
1. One of the simplest ways is in a photo box. (They are essentially shoe boxes that are cute and have labels on the front.) This is like a small filing box with each picture in a section divided by a piece of card stock, which is labeled, like so:
This system works well if you have a lot of printed photos. However it takes up space and the photos will start to deteriorate after a long time (50 years or so).
2. Another way to organize your pictures is on picture CDs and keep them in a special binder. Each CD has a log in thumbnails of all the picture the CD contains as shown here:
This system is a good space saver and it's nice to have all the thumbnails of each photo. However to get the thumb nails you have to get the CD made at the store. Each CD costs about $3 depending on where you get it from, and each CD holds about 350 pics. So it can end up being fairly expensive and CD's can get scratched or damaged.
3. The other way is to have all of your pictures saved on to your computer and backed up on a flash drive and/or on an online account (ex: Walgreens.com, Picasa online, Snapfish, or any other.) Most systems are free and with Walgreen's and Snapfish you can order your pictures directly from them. (Which costs money of course.) This is a great way to store your pictures but if you don't have easy access to a computer it makes planning your scrapbook pages hard. Also you have to plan ahead a bit to get your picture when you need them because they aren't right at hand. This method of backing up your files will last as long as there are usb ports, which could mean almost indefinitly.
I myself have a little of each. None the less whichever way you choose the next step is deciding what you want to scrapbook first. A good way to organize your pictures is separating them by event going chronologically. Like pregnancy, baby shower, birth, first steps, etc.
To start out choose the first event you want to document. For this example I'm doing a wedding book and starting with the engagement pictures and wedding invitations.
First I
gather the pictures and items I want to include.
First I
gather the pictures and items I want to include.
Next I find a layout I like.
I usually find good layouts at scrapbook.com (I go to their Gallery; Layouts; Sizes; 24x12 -which is a 2 page layout of 12x12 pages.) Then I draw the layout making it work with the pictures I have. I usually draw out a group at a time.
I usually find good layouts at scrapbook.com (I go to their Gallery; Layouts; Sizes; 24x12 -which is a 2 page layout of 12x12 pages.) Then I draw the layout making it work with the pictures I have. I usually draw out a group at a time.
Then I get paper that goes with the theme (like red and green for Christmas) or colors that match the pictures. It's less expensive to buy the paper in packs, on sale and to save your scrap paper. Most of the time you only need a square or two of each color so the rest of the paper can be saved for another layout. You will also need embellishments: which are anything that add beauty to your page through ornamentation ex: buttons, brads, eyelets, ribbon, stickers, lettering, words etc.
(You will know how much paper and what kind of embellishments you need by looking at the layout you chose.)
Then put it all together using your layout as your guide. So make sure your sketch of the layout is detailed enough for you to remember what goes where and how much.
(I will go over paper use on the next Scrapbooking Blogs.)


Awesome - this is definitely a good one for a beginner as you are very descriptive and the pictures help alot. Thanks!!
ReplyDelete