Pages

Friday, October 19, 2012

Little Apron for Little Ones

Last time we made pumpkin carving aprons (here, and here) I thought an apron for the little ones in your life would be fun and useful.

Because heaven knows, after a night of pumpkin carving, they are the ones that really make a mess.

So here we go a simple little apron... But cute as can be of course!


With some cute ruffles,

And a fun applique.


Supplies:

- Hand towel that fits the child from chest to mid thigh (mid weight fabric, not terry cloth)
-Ribbon about 36 inches (more or less depending on the child)
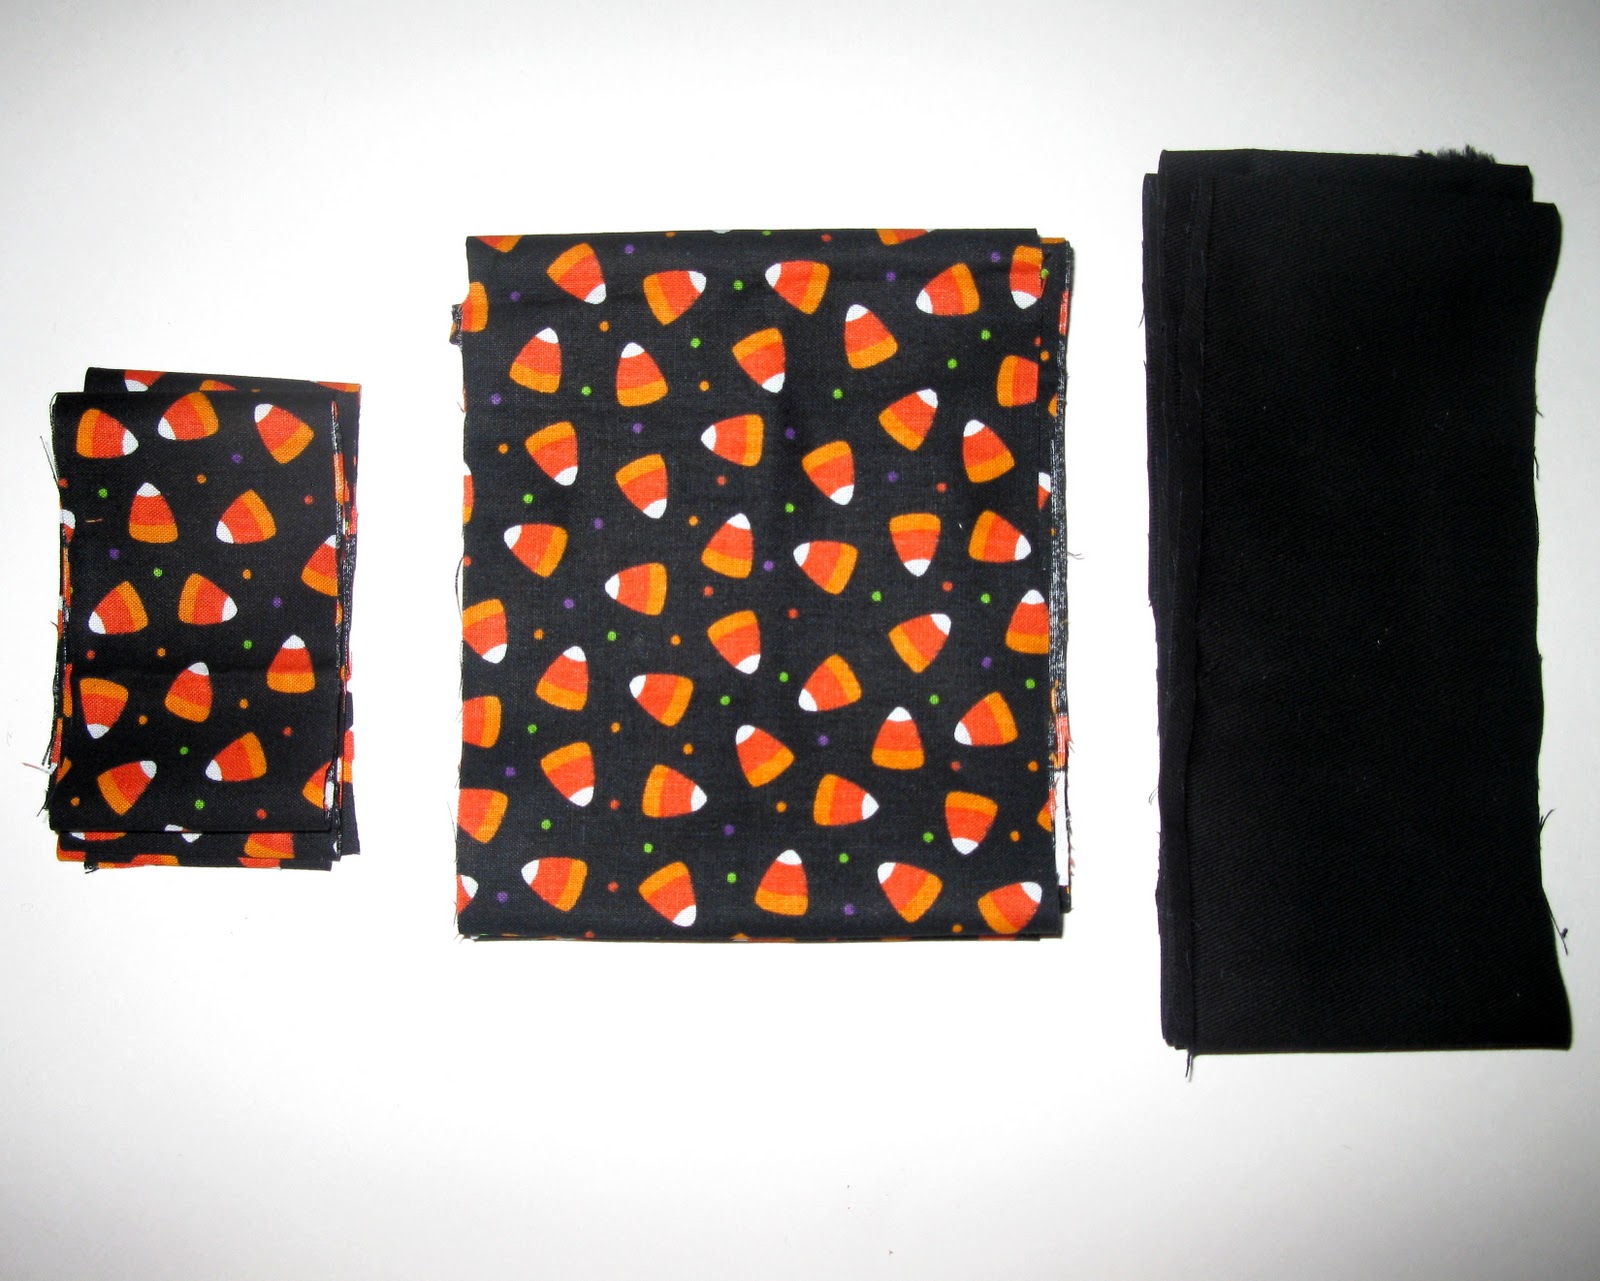
-Felt squares (white, orange & yellow)
- two 2"x 45" strips contrasting fabric
-Sewing machine and supplies 

(If you don't have a hand towel that will work use a piece of fabric and serge,  press and sew the edges.)

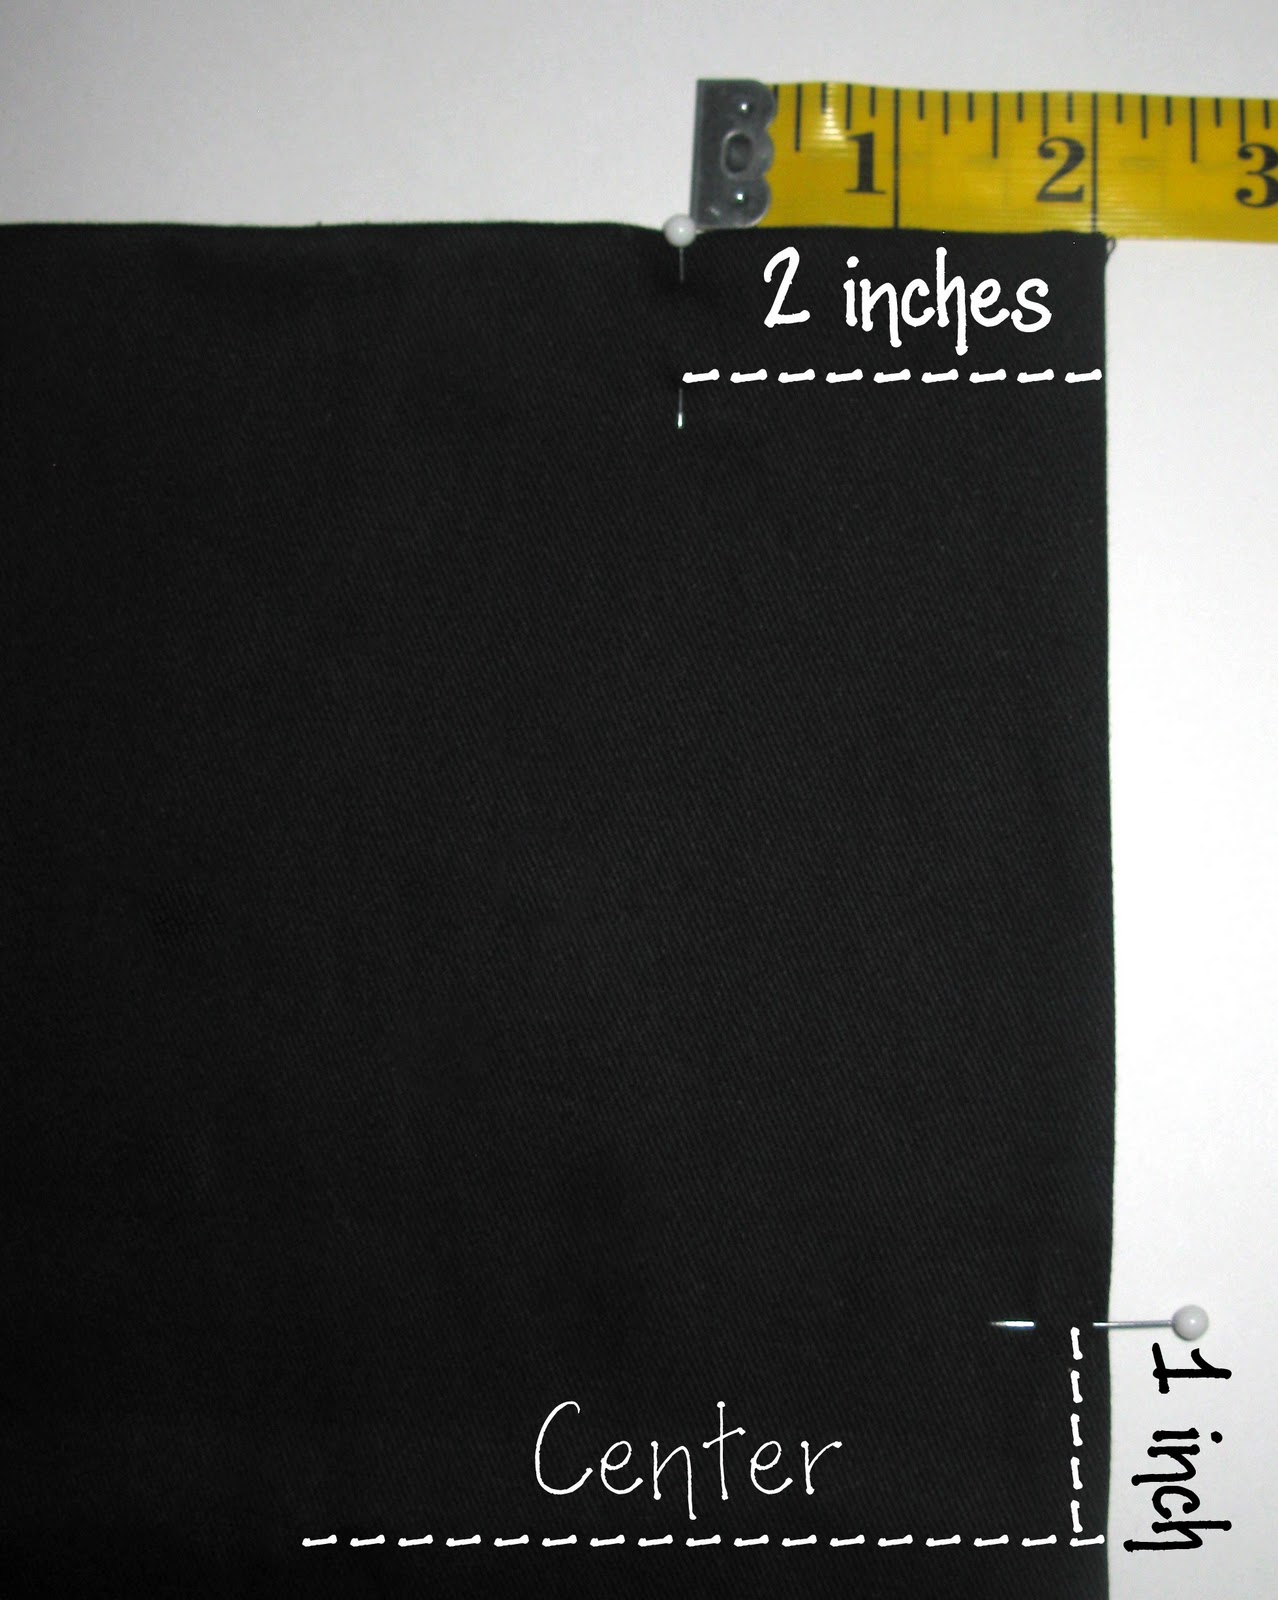
To start put a pin 2 inches in form each top corner and 2 inches from the middle.
X 

Then cut from one pin to the other cutting the top corners off.

Then serge or zigzag stitch the edge you just cut.

Next fold that edge over a 1/4 inch, press it and sew.
Repeat on the other side.
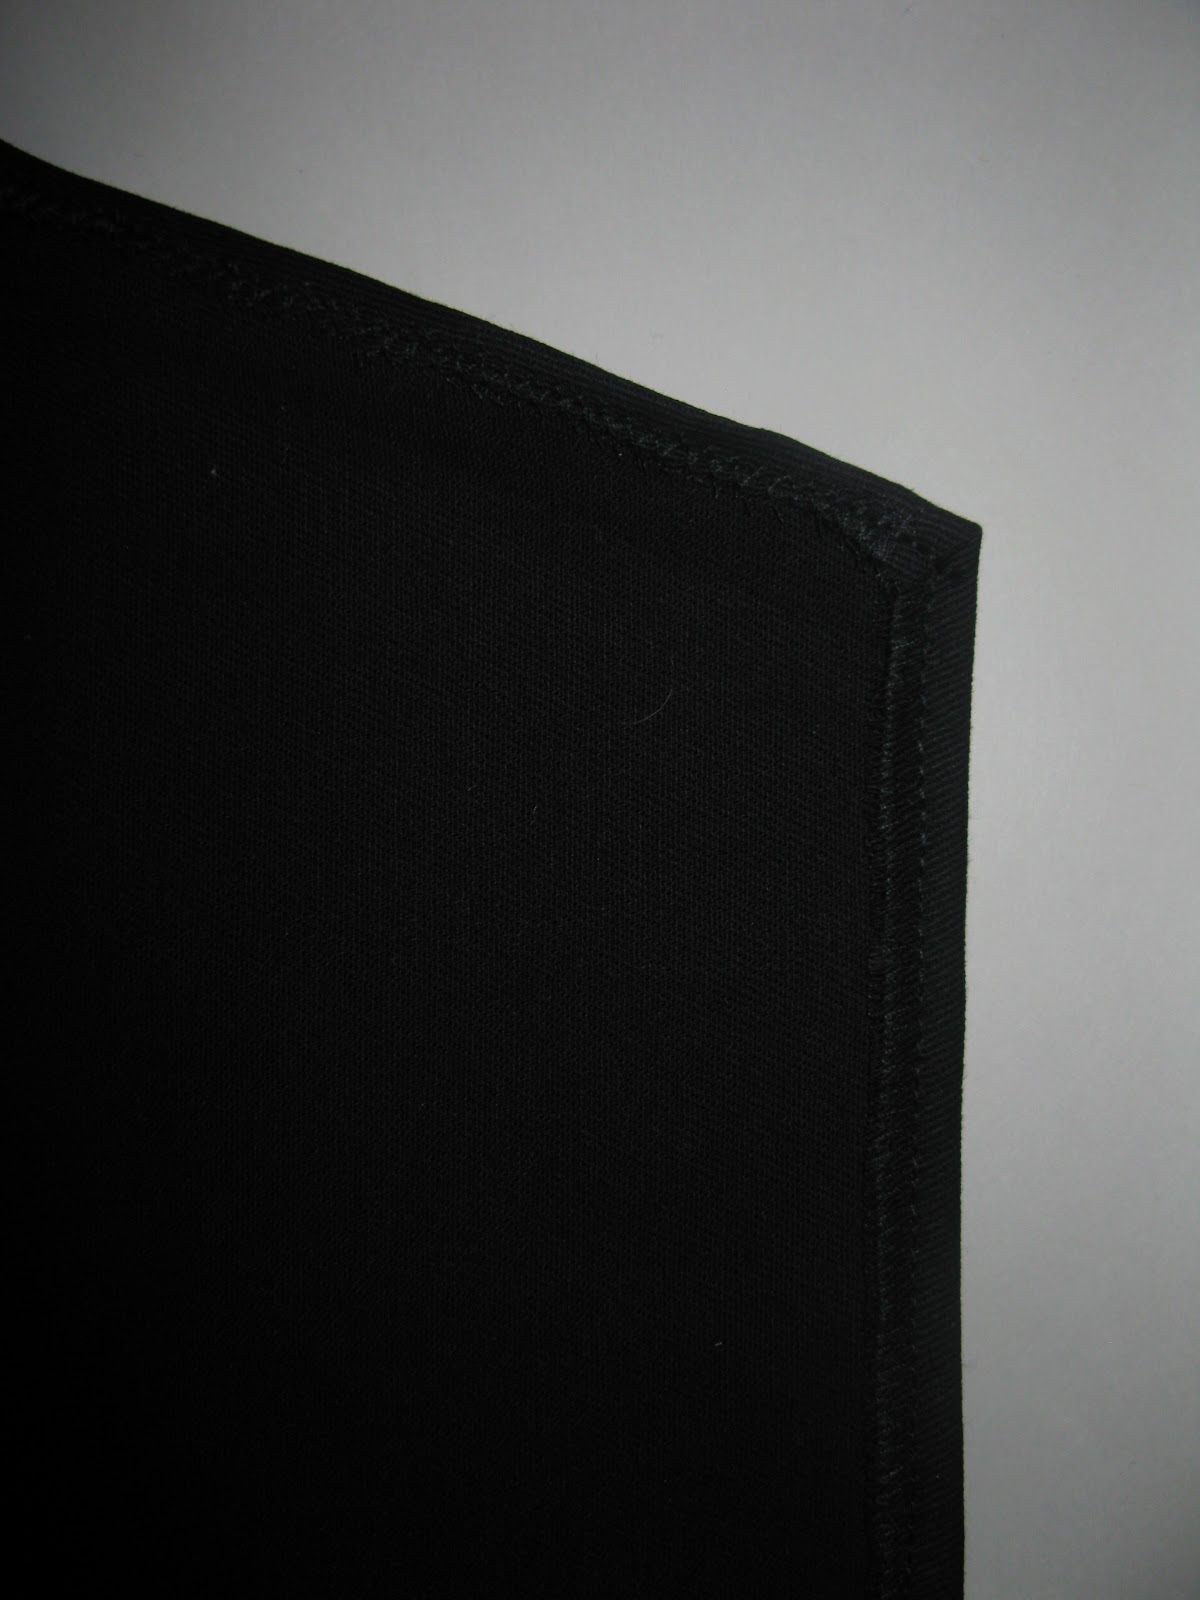
Then fold the diagonal corners down 1" and press. Here you will want to sew the fold down as close to the stitch line as possible to make a casing for the ribbon. 
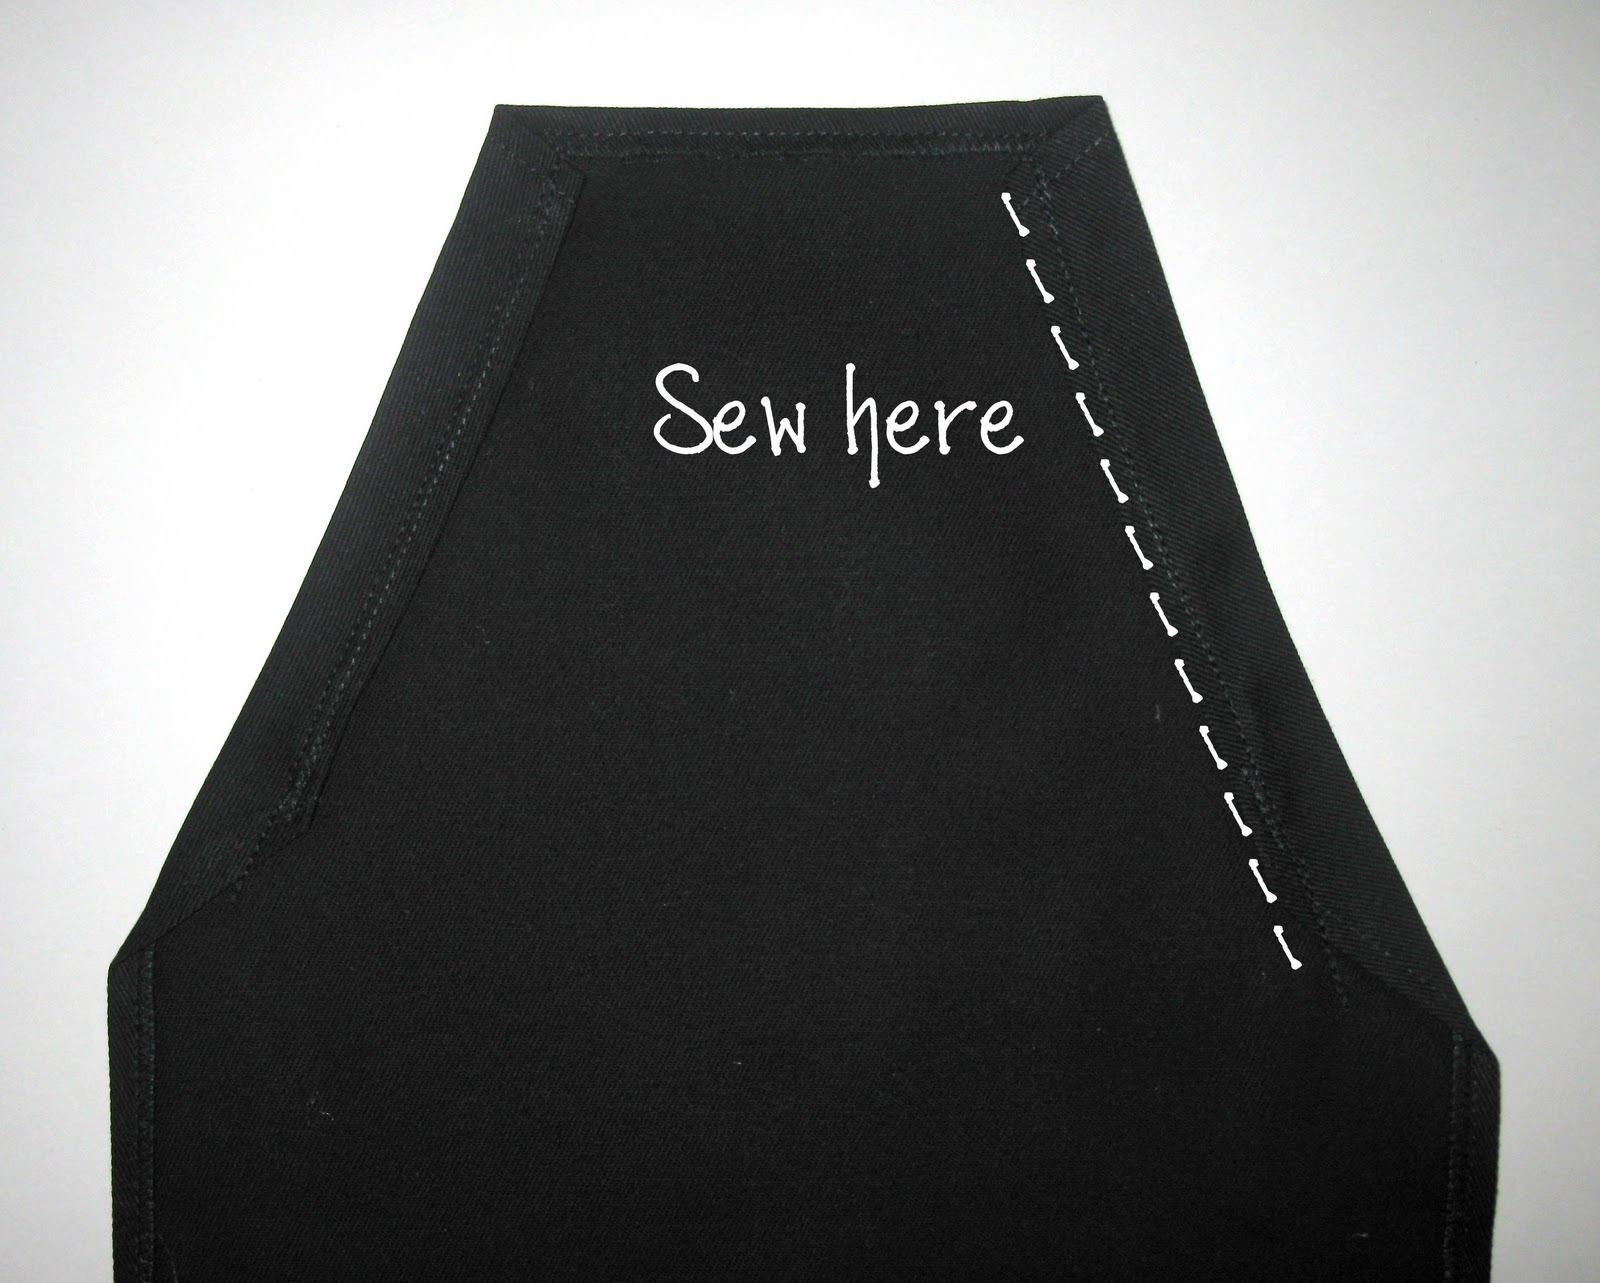
Next to thread the ribbon I use a safety pin, this makes guiding the ribbon easier.

Thread up through the casing on one side and down on the other side (just follow the arrow).

To add a bit of cuteness we can add some ruffles. (However if you are making this apron for a boy this step can be omitted.) I hemmed and gathered both 2"x45" strips and sewed them on one layered over the other. If you need instructions on this step follow the ruffle section in the tutorial found here.

 This is what the finished ruffle should look like.

Next you can add an applique of and kind. 
This one is from the same tutorial as above under the applique section again it's found here.

Here it is all ready to get messy!


Friday, October 12, 2012

Apron Embellishments: Ruffle and Applique

If you have an old apron you want to spruce up,

 or found last week's apron (here) too simple, 

add some ruffles 
or 
a cute applique to the front. 
(an applique is a cut out piece of fabric that is sewn on)


One for boys with an applique


And one for girls with some pretty ruffles and an applique.


Supplies:
- Strips of fabric for the ruffle
(I used two of each 3"x 45" & 5"x 45" piece)
- Felt Squares
(1 of each orange, yellow and white)
- Sewing machine and supplies


Lets start with the applique.

1. Cut out the pattern (for the Boo you will need to print both pieces and tape them together)
2. Lay the pattern piece on the felt and cut it out
3. Cut out all the pieces you are going to use
4. Put the pieces on the fabric and stitch around the edge of each piece

Candy Corn


Jack-o-lantern

BOO


Now for the ruffles:

Cut your ruffle fabric strips.
Mine are two of each 2"x 45" (this strip is for tomorrow's blog) , 5"x 45" and 3"x 45".

Then serge or zigzag stitch all around the edges of each strip.

Next fold down 1/4 inch, press and stitch all the edges.

Then to gather, baste stitch each strip just under the hem making sure not to back stitch and leave the end strings long. Then gently pull on one of the threads to gather, be careful not to break the thread. I usually gather one side to the center then gather the other side. Gather the strip until it is the same length as the apron.

Once it's gathered to the length of the apron, pin it on. I layered the 3" strip on top of the 5" strip and pinned it in place.

 Close up - 3" strip on 5" strip on the bottom of the apron.


Then sew it on, sewing both layers at the same time.
However you could sew each gathered strip individually if it's easier for you.

Then pin on the second set,

Just over the first set.


Then sew it on.

And there you have it a nice ruffly apron!!


Friday, October 5, 2012

Tea Towel Apron: For Pumpkin Carving


I learned a really simple way of making an apron and I thought it would be fun to make a 

seasonal apron. 

So when is the time you get the messiest? 
When your carving pumpkins!

 So why not make some easy pumpkin carving aprons! 


Supplies:

- Tea towels 18x24  
(kitchen towels that are not terry cloth)
-a spool of grosgrain ribbon
-Sewing machine and supplies

Here are the 18x24 tea towels. If you can't find tea towels or hand towels that you like you can take a heavy-ish fabric and finish the edges (serge then single fold hem). I have two because I'm going to make two big ones (his and hers)!

Start with measuring your chest at your collarbone where you want your apron to be (mine was 8"). You can also use the top of another apron for your measurements. Then measure from that spot down to where you want the waist of your apron to be (where the ties are). Mark all four spots with a pin.

(These measurements aren't meant to be exact, if you want the apron to be to your exact measurements you need to add 1 inch to both measurements for seam allowance.)


Then you want to cut from one pin to the other in a swoop motion cutting off the corner. Do this to both top corners, make sure they match.

To finish this edge serge it or use a zigzag stitch. Then fold down the edge 1/2 in and press it to make the new hem. Because this edge is on a curve it's important to press the fold, and straighten it while pressing, to make it easier to sew. Then sew the new hem down.


Next you want to add ties. First measure how much ribbon you think you will use. I used one tie on the neck instead of two, if you do it this way you will want to make sure it fits over your head. Then attach the ties to the corners. 


Make sure you sew the ribbon on very securely (this is what usually comes apart after years of use.)


And this is what it should look like when your done

You could do this in so many different fabrics and have some fun, easy aprons!


Friday, September 28, 2012

Decorating For Autumn: Leaves and Gourds

I love Autumn! 

It's my all time favorite season. Christmas is my favorite holiday and yes, I love the snow (when it comes for December then promptly leaves). But nothing tops the beauty of the red and orange leaves, the pumpkin patches full of funny shaped pumpkins and Halloween!

So in my house we decorate for fall as soon as possible.

And this year it's now!

I wanted to share with you how to bring the beauty of the outdoors, indoor; by making some tree "branches" and arranging leaf vines and gourds. 


This is how to decorate on a budget, it's all from the Dollar Store! 


This is an arrangement of flowers with some wheat in there, next to some leaves and fake gourds in a basket. And that cute little crow I thought it was a fun Halloween touch!


A fake pumpkin with leaf vines, and a cornucopia filled with a fake squash and dried corn.


This is the one I show you how to make!


Supplies:
-Gourds of any kind and shape
-Sticks 
-Leaf vines (I use 4 from the Dollar Store)
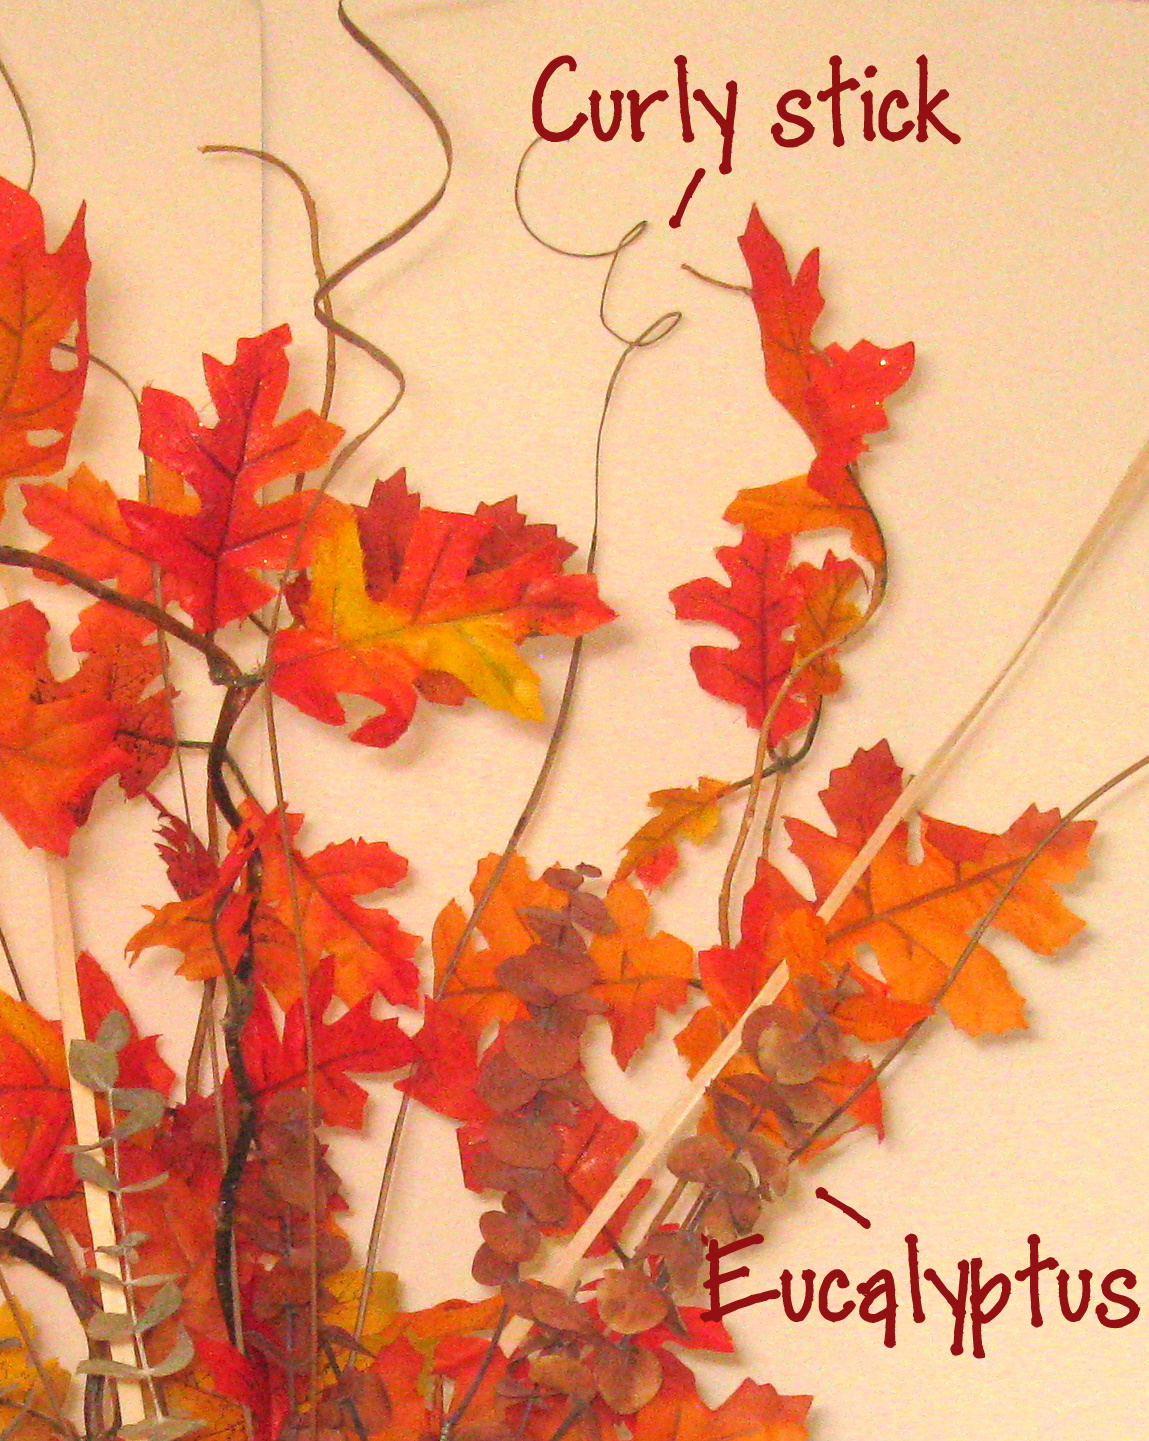
-Bundle of curly sticks and eucalyptus (or any other filler)
-Hot Glue 


First to make the Branches:
Take the sticks you want to use and separate them. (My sticks are very crooked but straight will work also.)

Then you want to remove the leaves from two of the vine bundles.


Arrange the leaves the way you like. I tried to make the placement of the leaves look more natural, like a real tree branch. Then glue them in place using hot glue. (hint: hold the leaf in place for a while until the glue hardens, do this for each leaf.)


Next put the sticks together so they look fairly symmetrical and wrap some of the extra, bare vine around the bottom and hot glue them to hold the "branches" in place.


Then add some of the filler, curly sticks and eucalyptus. Some wheat stalk or dried berry clusters would look great as well. 


As for this fall arrangement nothing else is needed, simple put it in a vase!


Now to place it. 
I always love to put arrangements like this one on the counter near the front door. That way when you enter your house the red and orange leaves are welcoming you home. The vase puts the arrangement high enough to place some gourds and vines around  the base. 
Like so...


There it is, a beautiful piece of Autumn in your home to enjoy!